
Buying a Wide Belt Sander Metal Sanding Machine is not simply a matter of choosing the widest model or the highest motor rating. In a real workshop, sheet thickness, abrasive wear, dust extraction, and operator access determine daily productivity. A machine may look powerful on paper, yet perform poorly when its conveyor drifts or its pressure rollers mark thin stainless steel. That is an easy mistake to make.
Industry reports underline why this decision deserves careful evaluation. Grand View Research’s industrial machinery studies identify automation, precision processing, and production efficiency as major equipment investment drivers. MarketsandMarkets also links advanced manufacturing growth with stronger demand for accurate surface finishing systems. These reports do not replace hands-on testing, but they show the direction of the market. Buyers are paying more attention to repeatability, energy use, and integration.
This guide presents seven practical tips for comparing a Wide Belt Sander Metal Sanding Machine. It considers sanding width, abrasive-belt speed, feed control, motor capacity, dust collection, safety design, and after-sales support. Each factor affects the finished panel beneath your fingertips. Look closely at adjustment scales, emergency stops, belt-tracking systems, and the space required for maintenance. Small details matter.
Specifications can mislead.
A larger motor does not automatically create a better finish. A faster feed rate may reduce quality. Even experienced buyers sometimes overestimate future production and purchase unnecessary capacity. That reflection matters because the cheapest machine is rarely the lowest-cost machine over five years. Reliable decisions should combine supplier documentation, recognized safety guidance, sample testing, and honest production forecasts. The goal is controlled performance, not impressive numbers.
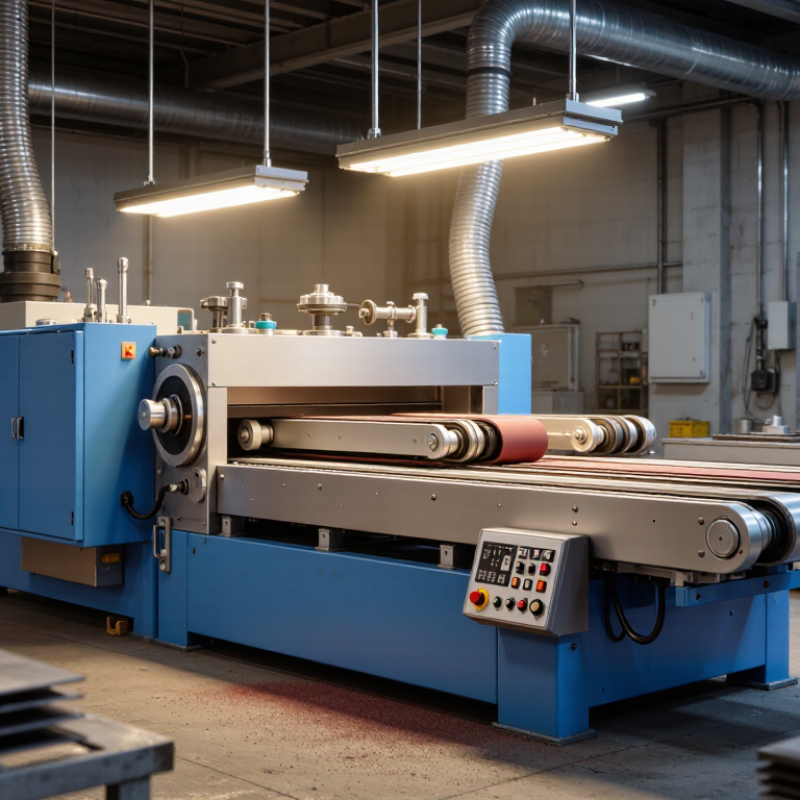
Choosing a wide belt sander starts with the metal, not the machine catalog. Measure the widest part, including flanges or welded edges. A working width between 600 and 1,300 mm covers many fabrication tasks, but extra capacity can increase cost and abrasive waste. Select a machine that safely accepts your actual sheet size.
Define the stock-removal target before comparing motors. Removing 0.1 mm may require controlled finishing, while 0.5 mm demands stronger cutting performance and stable pressure. Match the abrasive grit to the material and surface goal. Coarse belts cut quickly, but they can leave deep lines. Fine belts improve appearance, yet they remove material slowly. Feed speed matters. Slower feeding usually increases contact time, but excessive pressure can create heat, belt loading, or uneven edges.
Check thickness control carefully. A rigid conveyor, accurate height adjustment, and clear measurement system support repeatable results. Test a sample panel first, then measure several points with a micrometer. One reading is not enough. Inspect dust extraction, emergency stops, belt tracking, and access for routine cleaning. These details affect reliability over months of production.
I once trusted a nominal width and overlooked a side weld. The workpiece fitted poorly. That small mistake delayed the setup. Leave practical clearance, and question every specification that lacks testing data. A capable supplier should explain removal rates, tolerances, belt life, and maintenance intervals without vague promises. Safety training still matters. Even a well-designed machine cannot correct careless feeding or missing protective equipment.
| Tip | Buying Dimension | Recommended Planning Range | What to Check | Why It Matters for Metal Sanding | Practical Selection Guidance |
|---|---|---|---|---|---|
1 | Match the working width | 600–1,300 mm | Confirm the maximum sheet, plate, strip, or welded panel width, including edge clearance. | The usable sanding width determines whether parts can pass in one setup. A machine that is too narrow may require overlapping passes, which can create visible lines and uneven stock removal. | Select a working width at least slightly greater than the widest routine workpiece. For mixed production, allow additional width for positioning and edge treatment. |
2 | Set the required stock removal | 0.1–0.5 mm per pass | Define whether the machine will perform light finishing, scale removal, weld blending, or dimensional correction. | Light passes of about 0.1–0.2 mm are generally more suitable for finishing and cosmetic uniformity. Heavier removal up to about 0.5 mm requires adequate motor power, abrasive support, and controlled feeding. | Choose a machine with adjustable table height and pressure control. Do not assume that the maximum removal rate is suitable for every metal or abrasive belt. |
3 | Evaluate metal type and hardness | Carbon steel, stainless steel, aluminum, and other non-ferrous metals | Identify hardness, heat sensitivity, surface scale, weld material, and the risk of clogging the abrasive. | Different metals generate different cutting forces and heat. Stainless steel can work-harden, while aluminum may load the abrasive if the belt and lubricant are not appropriate. | Request abrasive compatibility information for the actual material. Use belts and operating parameters intended for metal rather than general-purpose woodworking applications. |
4 | Check feed-rate control | Variable-speed conveyor; commonly several metres per minute to tens of metres per minute | Verify the actual feed-speed range, speed adjustment method, and synchronization between conveyor and sanding head. | Slower feed rates usually increase contact time and stock removal, while faster rates can support finishing and reduce heat. Consistent speed improves repeatability across batches. | Prefer continuously adjustable feed control rather than a single fixed speed. Confirm that the lowest and highest speeds suit the planned abrasive grit sequence. |
5 | Review sanding-head configuration | One or more heads with contact roller and/or platen arrangements | Compare contact-roller hardness, platen design, head spacing, abrasive-belt dimensions, and quick-change access. | A contact roller is useful for controlled stock removal, while a platen can improve surface finishing. Multiple heads allow coarse-to-fine processing in one pass. | For weld blending or measurable removal, prioritize a rigid contact roller and accurate height adjustment. For a smoother finish, consider a finishing platen or additional sanding head. |
6 | Confirm dust and spark management | Dedicated extraction connection, enclosed sanding zone, and metal-compatible collection system | Check extraction airflow requirements, duct diameter, spark control, filter suitability, and access for cleaning. | Metal sanding produces abrasive dust and may produce hot particles. Effective extraction protects operators, reduces contamination, and helps maintain consistent sanding performance. | Use a dust-collection system designed for the material being processed. For combustible dust or spark-producing work, require a documented risk assessment and suitable fire-prevention measures. |
7 | Verify accuracy, safety, and serviceability | Stable thickness control, emergency stops, guarding, belt tracking, and accessible maintenance points | Inspect thickness-setting resolution, conveyor stability, automatic belt tracking, overload protection, emergency-stop locations, and replacement-part availability. | Consistent removal in the 0.1–0.5 mm range depends on machine rigidity, calibration, belt tracking, and a stable work table. Safety features reduce risks from moving belts, pinch points, and sparks. | Ask for test results using representative material and abrasive grit. Include operator training, preventive maintenance, calibration checks, and consumable costs in the purchase evaluation. |
