10 Tips for Choosing Floor To Ceiling Glass
Choosing Floor To Ceiling Glass is not simply a style decision. It affects daylight, privacy, energy use, safety, and everyday comfort. A wall of glass can make a small room feel open, yet it may also reveal fingerprints, glare, and street noise.
This guide presents ten practical tips for making a more informed choice. It considers glass types, frame strength, insulation, solar control, ventilation, cleaning access, and installation quality. Local climate matters. A south-facing glass wall behaves differently from one shaded by tall trees. In a warm region, low-emissivity glass and external shading may reduce heat gain. In colder areas, insulated glazing can help limit drafts and indoor heat loss.
Safety comes first.
Experienced designers and installers usually assess wind exposure, structural openings, drainage, and maintenance access before recommending a system. Product specifications should come from established manufacturers, while installation should follow applicable building requirements and professional inspection practices. Still, no product solves every problem. Highly efficient glass can cost more, and stronger frames may slightly reduce the uninterrupted view. Cleaning a tall pane may also require specialist equipment.
The best result balances appearance with performance. Look closely at the room during morning and afternoon light. Notice reflections on screens, fading risks for furniture, and how easily curtains can operate. These details are easy to overlook. A careful comparison, supported by qualified advice, can help Floor To Ceiling Glass remain attractive, comfortable, and practical for years.
Define the Purpose and Scope of the Floor-to-Ceiling Glass Installation
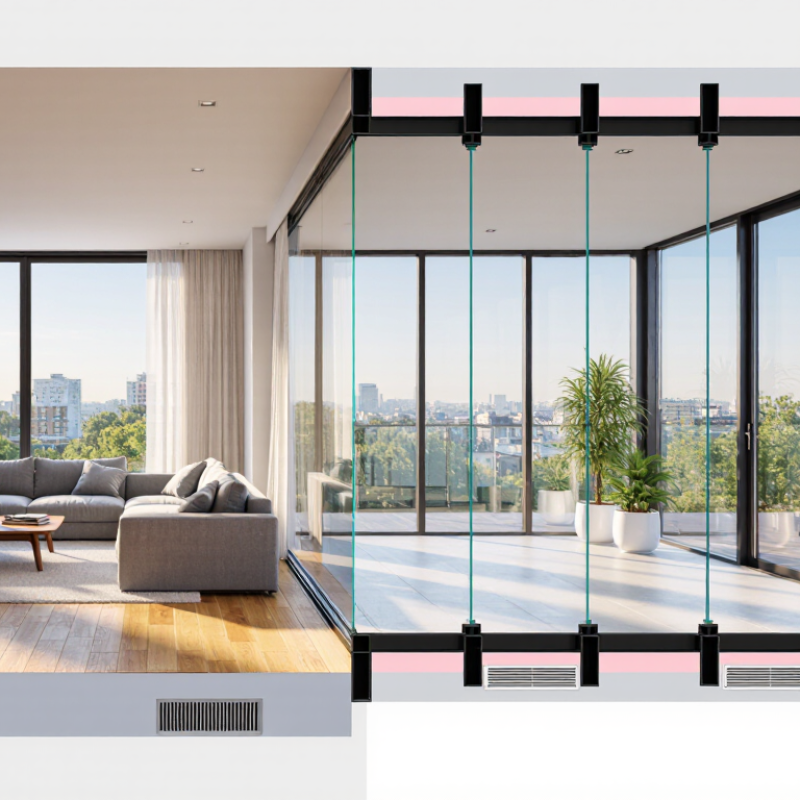
Before choosing floor-to-ceiling glass, define what the room needs from it. Is the aim to frame a garden, brighten a north-facing living area, or connect a workspace to an outdoor terrace? The answer affects the glass area, orientation, opening type, privacy, and shading. Sketch the view from seated eye level, then note where glare might fall on screens or polished floors. Small details matter.
Energy performance belongs in the brief, not as an afterthought. The U.S. Department of Energy’s Energy Saver guidance attributes about 25–30% of home heating and cooling energy use to heat gain and loss through windows. ENERGY STAR estimates that replacing single-pane windows with certified models can reduce household energy bills by 7–15%, depending on climate. These figures are not promises for every project; climate, frame quality, installation, and existing windows change the result. Still, big glass is not automatically better.
Set the installation’s scope by recording dimensions, sill and head conditions, exposure to sun and wind, and nearby heating or cooling equipment. Ask a qualified designer or contractor to assess structural support, water management, safety glazing, and local requirements before fixing the opening size. A full-height pane may look clean on a drawing, yet make a room uncomfortable at 4 p.m. That is worth testing with a sun study or temporary shading mock-up. Sources: U.S. Department of Energy, Energy Saver; ENERGY STAR, Residential Windows, Doors, and Skylights.
10 Tips for Choosing Floor-to-Ceiling Glass: Define the Purpose and Scope
Start by identifying how each space will be used. Common maintained illuminance targets help determine whether the installation should prioritize daylight, visual comfort, privacy, or controlled solar exposure.
The chart uses commonly referenced maintained illuminance levels for typical indoor areas: 500 lux for office and meeting tasks, 300 lux for reception areas, 150 lux for stairs, and 100 lux for corridors. Use these targets as an early planning reference before selecting glass size, orientation, shading, and performance specifications.
Compare Glass Types, Safety Ratings, and Thermal Performance
10 Tips for Choosing Floor To Ceiling Glass
Floor-to-ceiling glass should be judged by more than its appearance. Tempered glass resists heat and sudden impact, while laminated glass holds together after cracking. For bedrooms, stairwells, and low-level panels, laminated glazing can reduce injury risks. Ask for the tested safety classification, not just a verbal promise. Local building rules still control the final choice.
Compare the whole glazing unit, not one pane. Double glazing usually improves insulation, while triple glazing can help in colder climates. Low-emissivity coatings limit radiant heat loss, but their performance depends on orientation and shading. Check the U-factor, solar heat gain coefficient, and visible light transmission. Lower U-factor means better insulation. A high solar gain value may create uncomfortable afternoon heat.
On site, examine the frame, seals, drainage paths, and glass edges. Weak installation can undermine excellent glass. Thermal breaks in metal frames are important around large openings. Ask for independent test documents and installation details. I have seen attractive walls become noisy, cold, or foggy because these details were overlooked. Measure the room’s sunlight across several hours, if possible. Small samples can mislead. Real conditions are messier. Also consider wind loads, human impact zones, cleaning access, and emergency egress before approving the final specification.
Review Costs, Maintenance Needs, Building Codes, and Warranty Coverage
10 Tips for Choosing Floor To Ceiling Glass
Floor-to-ceiling glass can transform a dark room, but the visible panel is only one cost. Budget for structural changes, delivery equipment, professional installation, permits, and interior repairs. I once underestimated trim work around a large opening. The glass arrived on time, yet the project still ran over budget. Ask for an itemized quote, including disposal and possible reinforcement.
Maintenance begins with daily exposure. Dust collects along tracks, while fingerprints become obvious in strong sunlight. Use soft cloths and manufacturer-approved cleaners. Inspect seals twice a year for gaps, cracking, or moisture between panes. Condensation may signal poor ventilation or a failing insulated unit. It is easy to blame the glass too quickly. Sometimes the indoor humidity is the real problem.
Building codes can control glass size, safety glazing, wind resistance, energy performance, and emergency access. Requirements vary by location and building type. A licensed designer or structural engineer should verify the opening before fabrication. Do not rely on a contractor’s verbal assumption. Warranty documents deserve the same attention. Check coverage periods for glass breakage, seal failure, frames, hardware, labor, and water infiltration. Some warranties exclude poor cleaning, installation changes, or coastal exposure. Keep invoices, inspection notes, and installation photographs. Those records can matter when a claim becomes complicated.